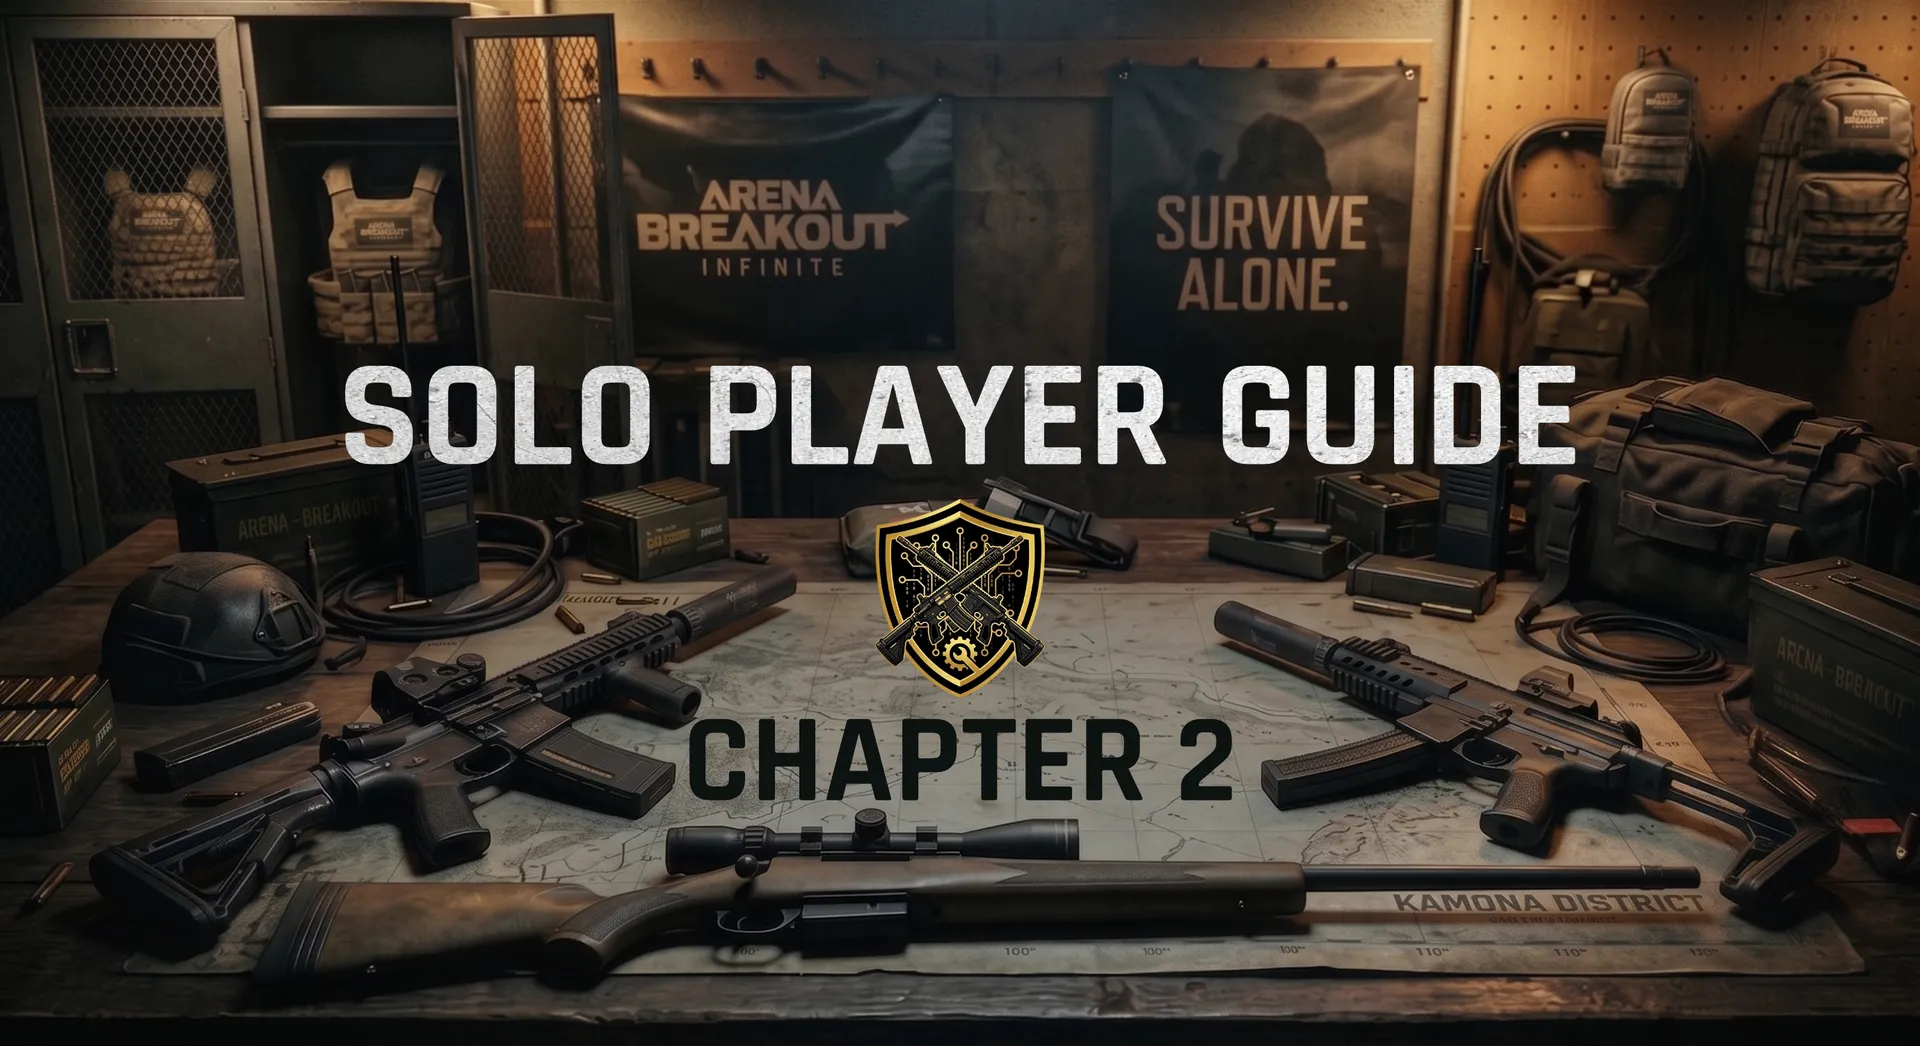
Playing Solo Chapter 2: Preparation and Loadout Philosophy
Building a kit that supports your plan in Arena Breakout: Infinite (ABI). Learn the best utility baselines, weapon roles, ammo top-loading, stims, and armor options.
Playing Solo Guide Series
A solo loadout should give you answers to common problems without becoming too expensive or too heavy. Every item should have a purpose: healing, fighting, moving, gathering information, or surviving a mistake.
The goal is not to bring the most expensive kit possible. The goal is to bring a kit that fits the raid you are planning to play.
Default Inventory Line
A default inventory line is a reliable starting point, not a rule for every raid. Adjust it based on map, budget, objective, and risk level.
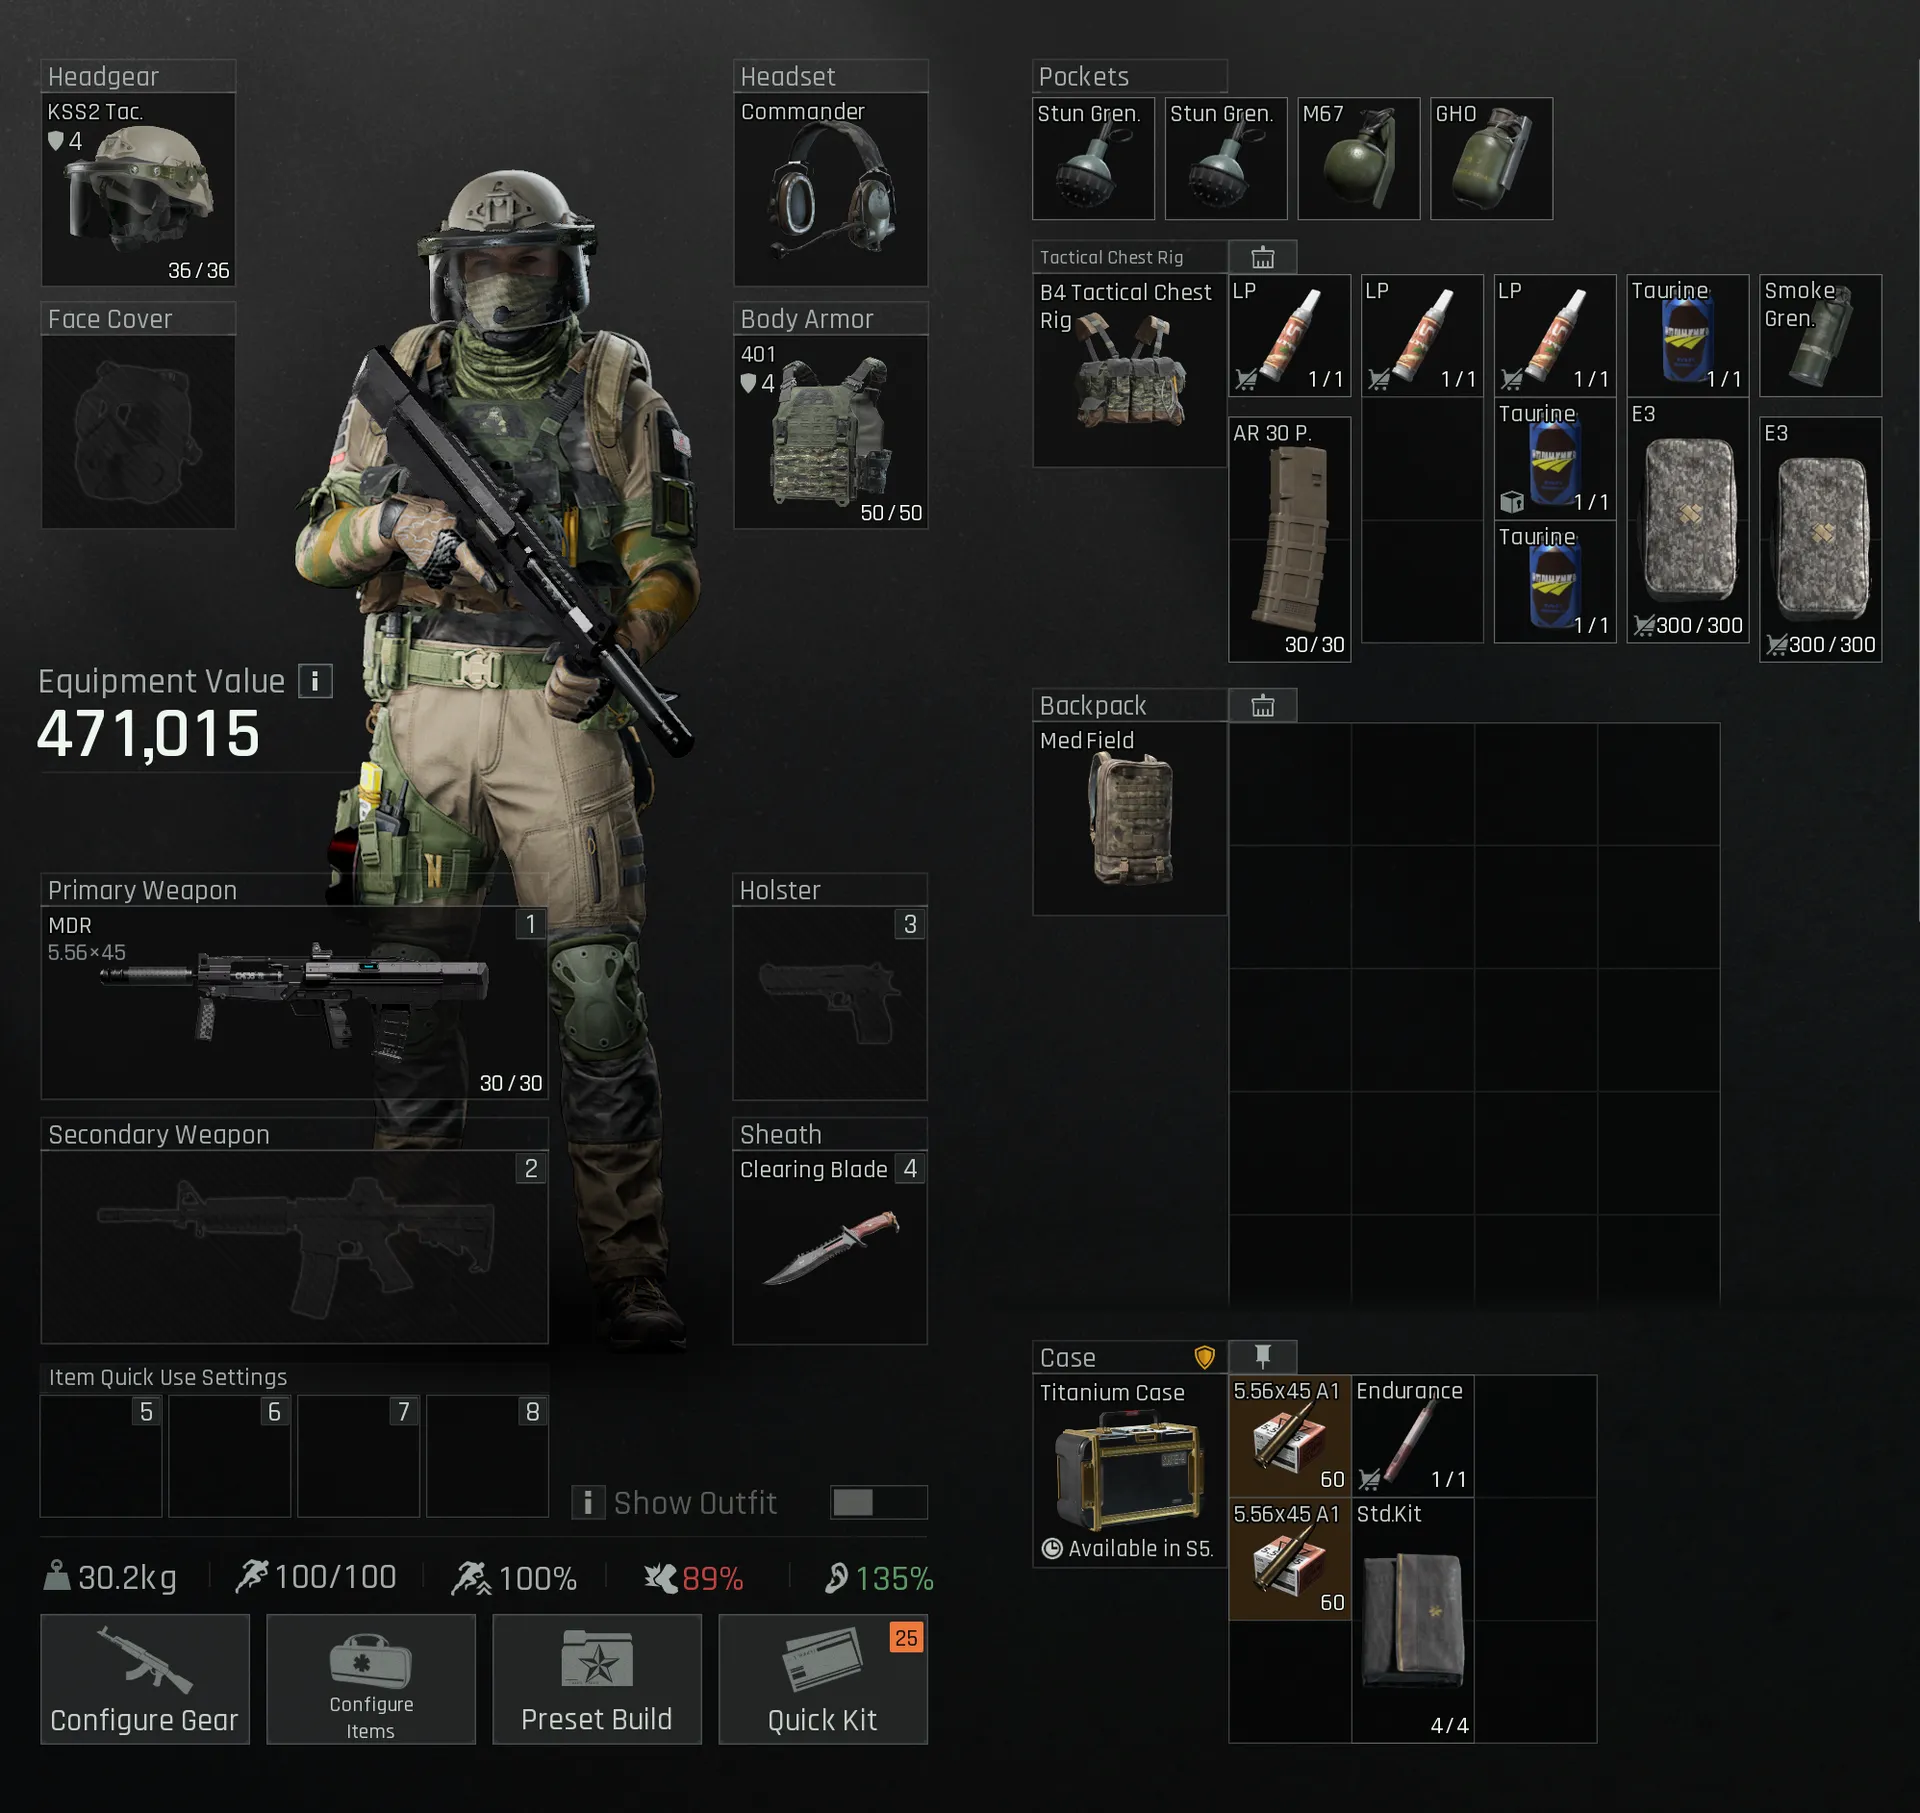
Example inventory baseline. A balanced setup should include enough medicine, ammunition, and utility to survive common solo situations without overloading the kit.
Empty space has value. If your backpack is full too early, you may not have room for a weapon, helmet, armor, attachment, or valuable item taken from a kill. Reorganising a full bag while exposed wastes time and can get you killed.
Utility Loadout Baseline
Utility gives a solo player options without having to face-check every problem. Utility can be divided into five categories:
- Lethal: GHO, M67, MK2
- Information: Stun
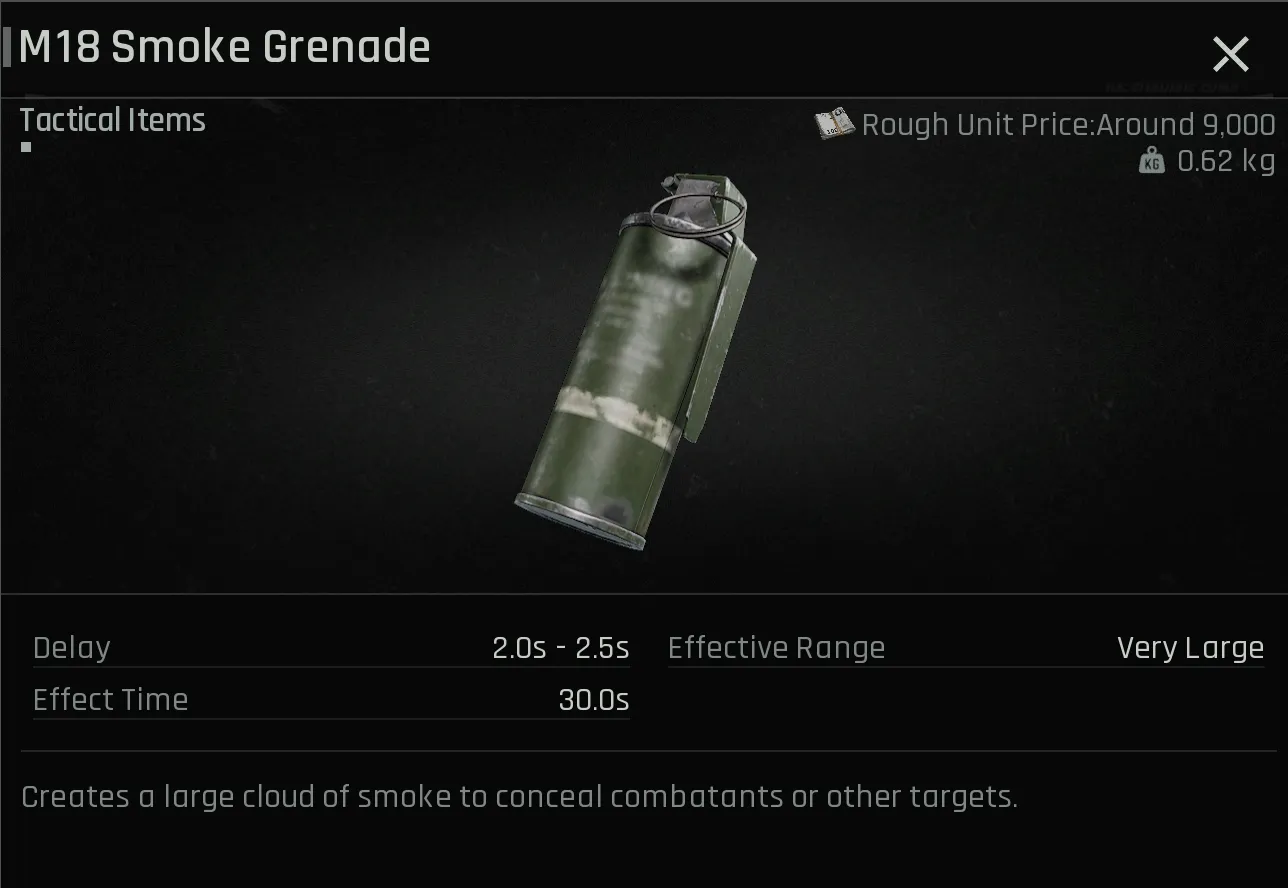
- Control: Smoke
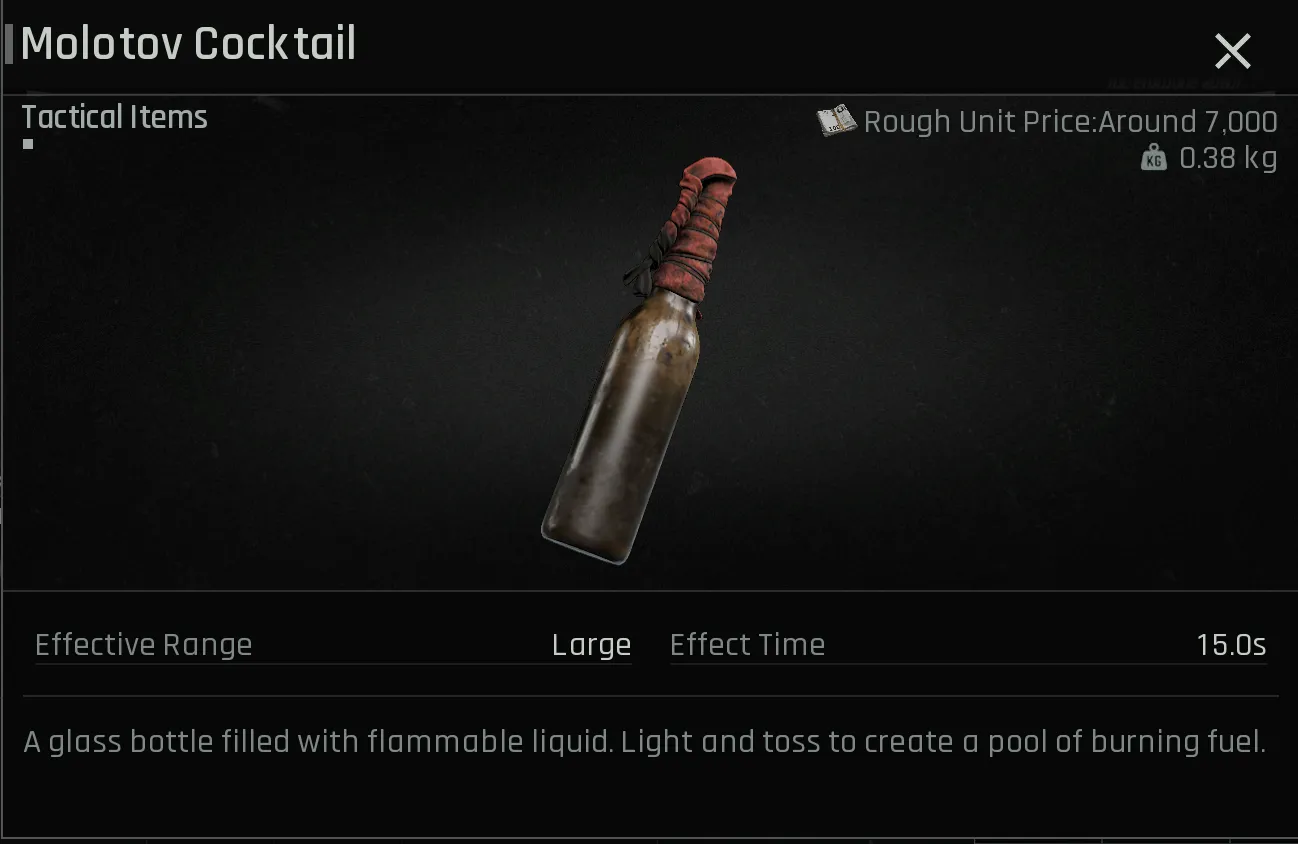
- Deterrent: Tear Gas, Molotov
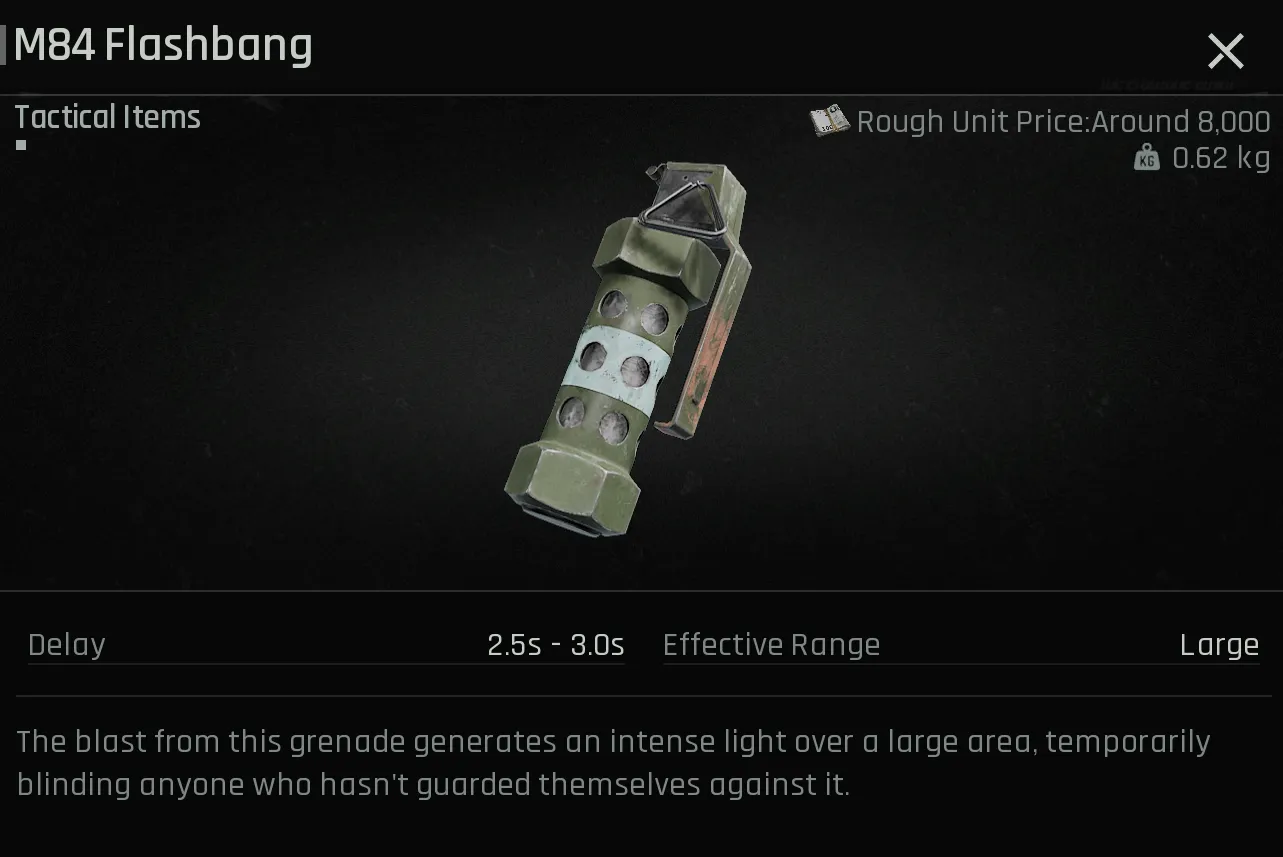
- Niche: Flashbang, Multi Flash
A general baseline:
Budget Line
- 2 Stuns
- 2 Lethal grenades of your choice
- 1 Smoke
Balanced Line
- 3 Stuns
- 2 Lethal grenades of your choice
- 2 Smokes
- 1-2 Deterrent tools
PvP-Focused Line
- 4 Stuns
- 4 Lethal grenades
- 2 Smokes
- 2-3 Deterrent tools
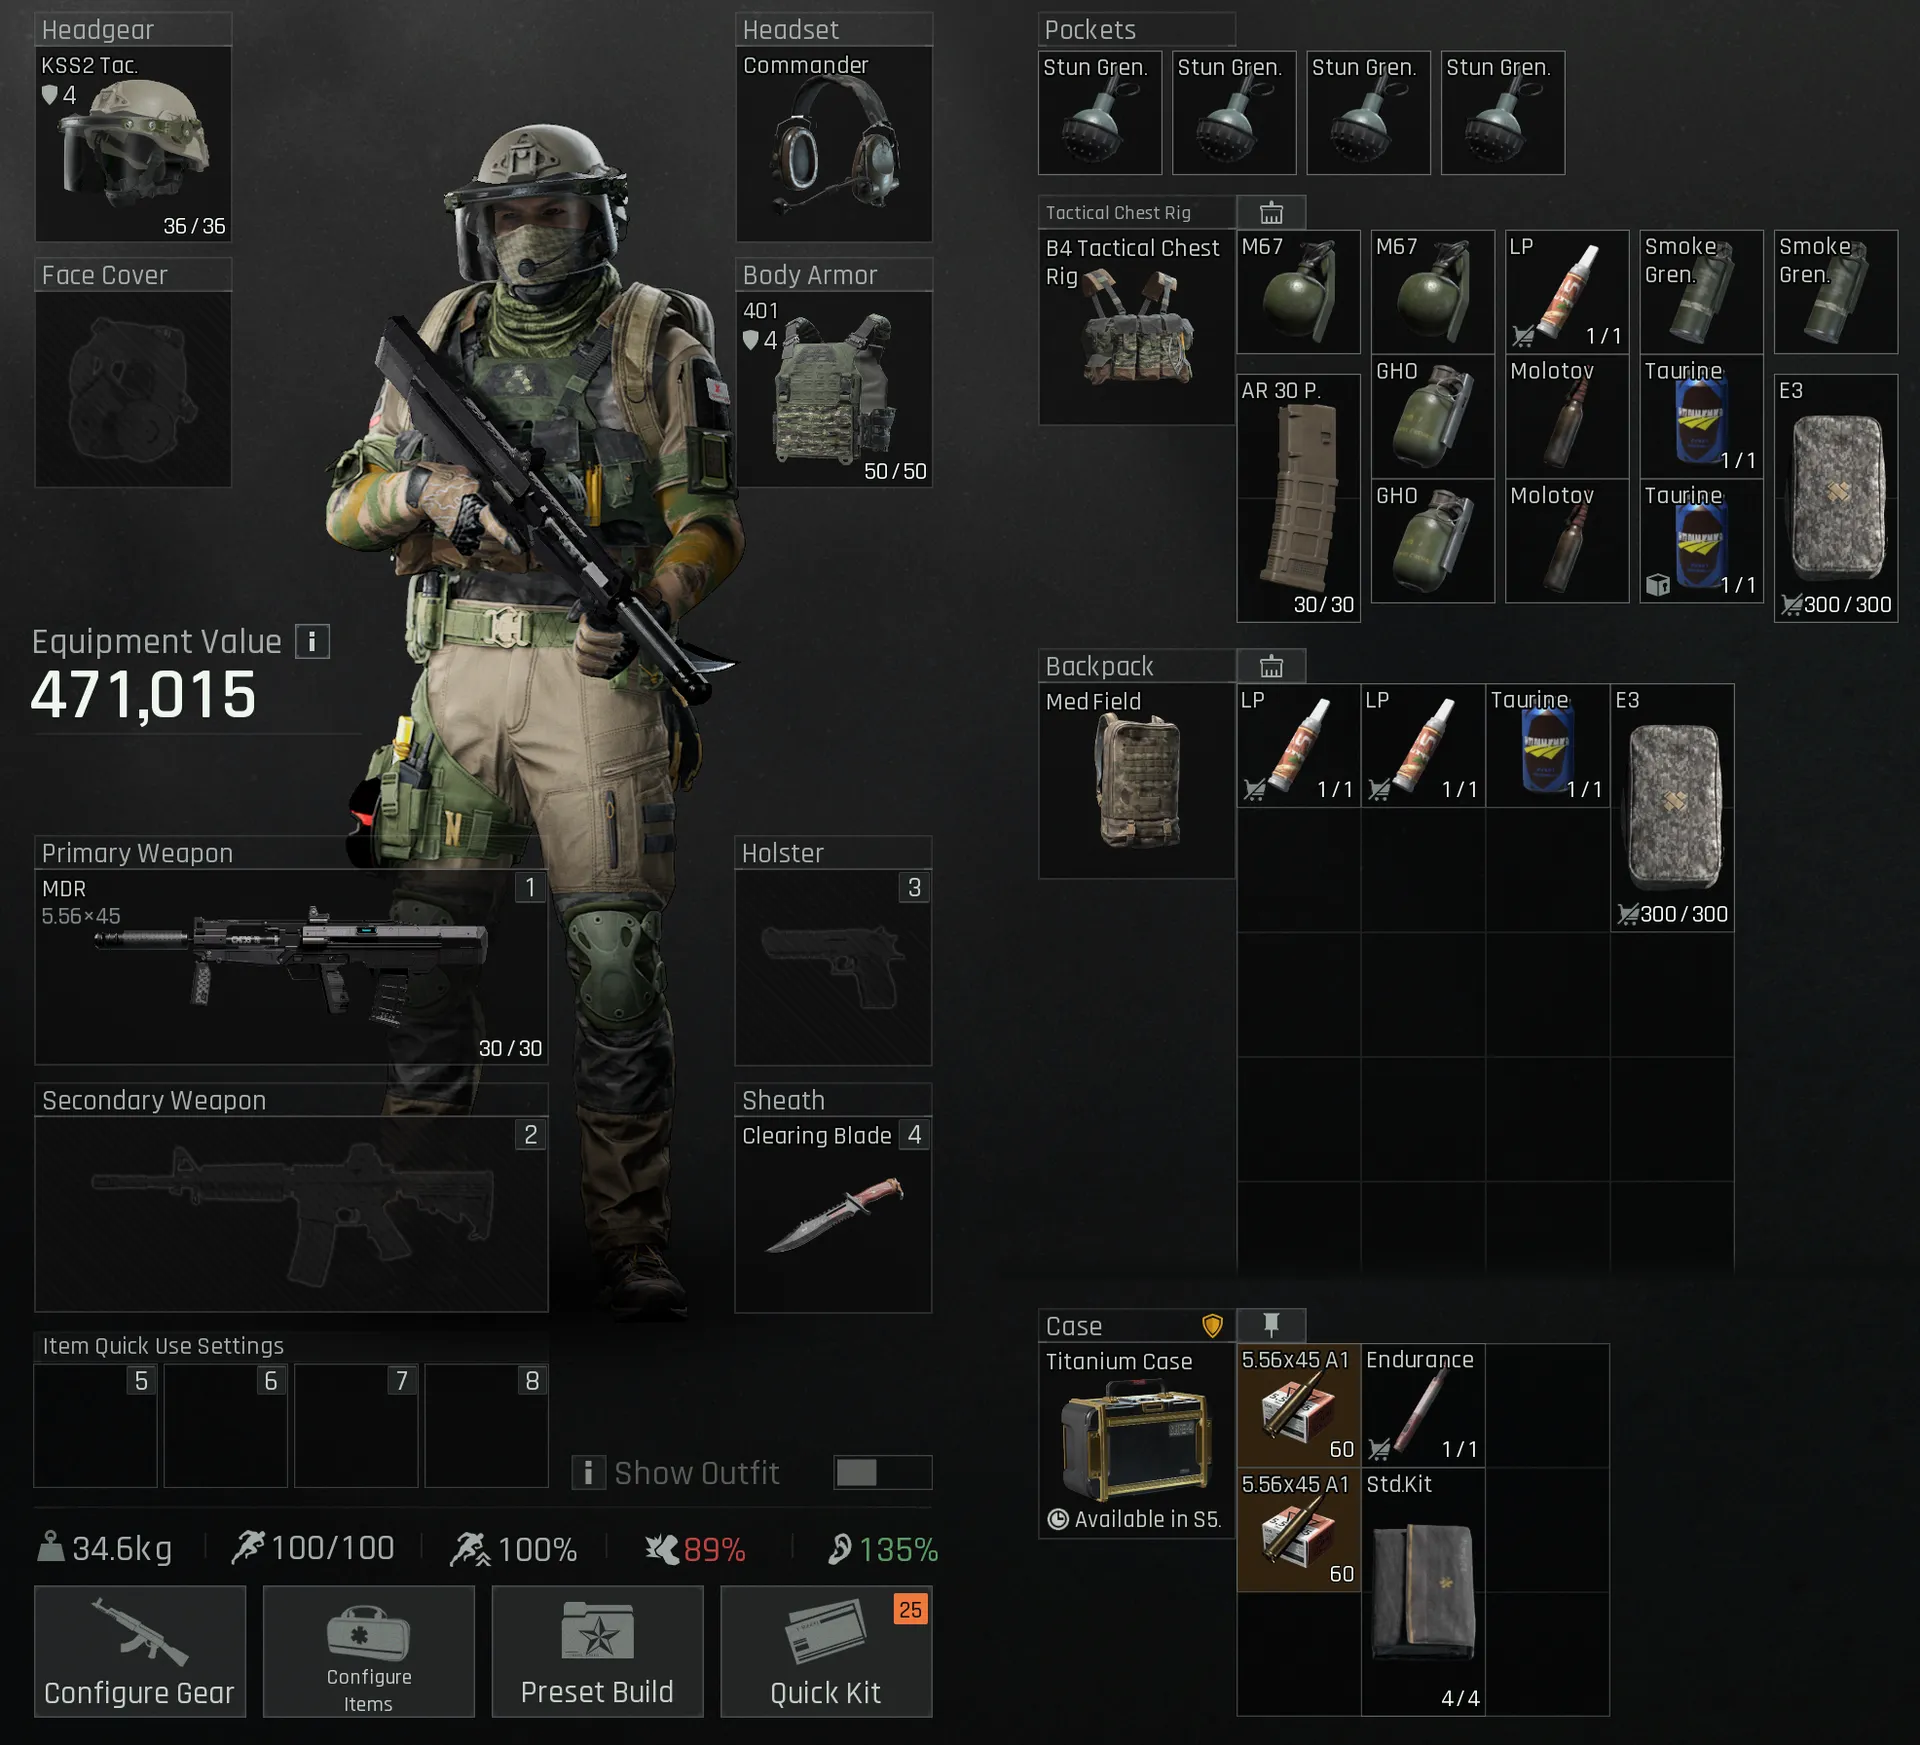
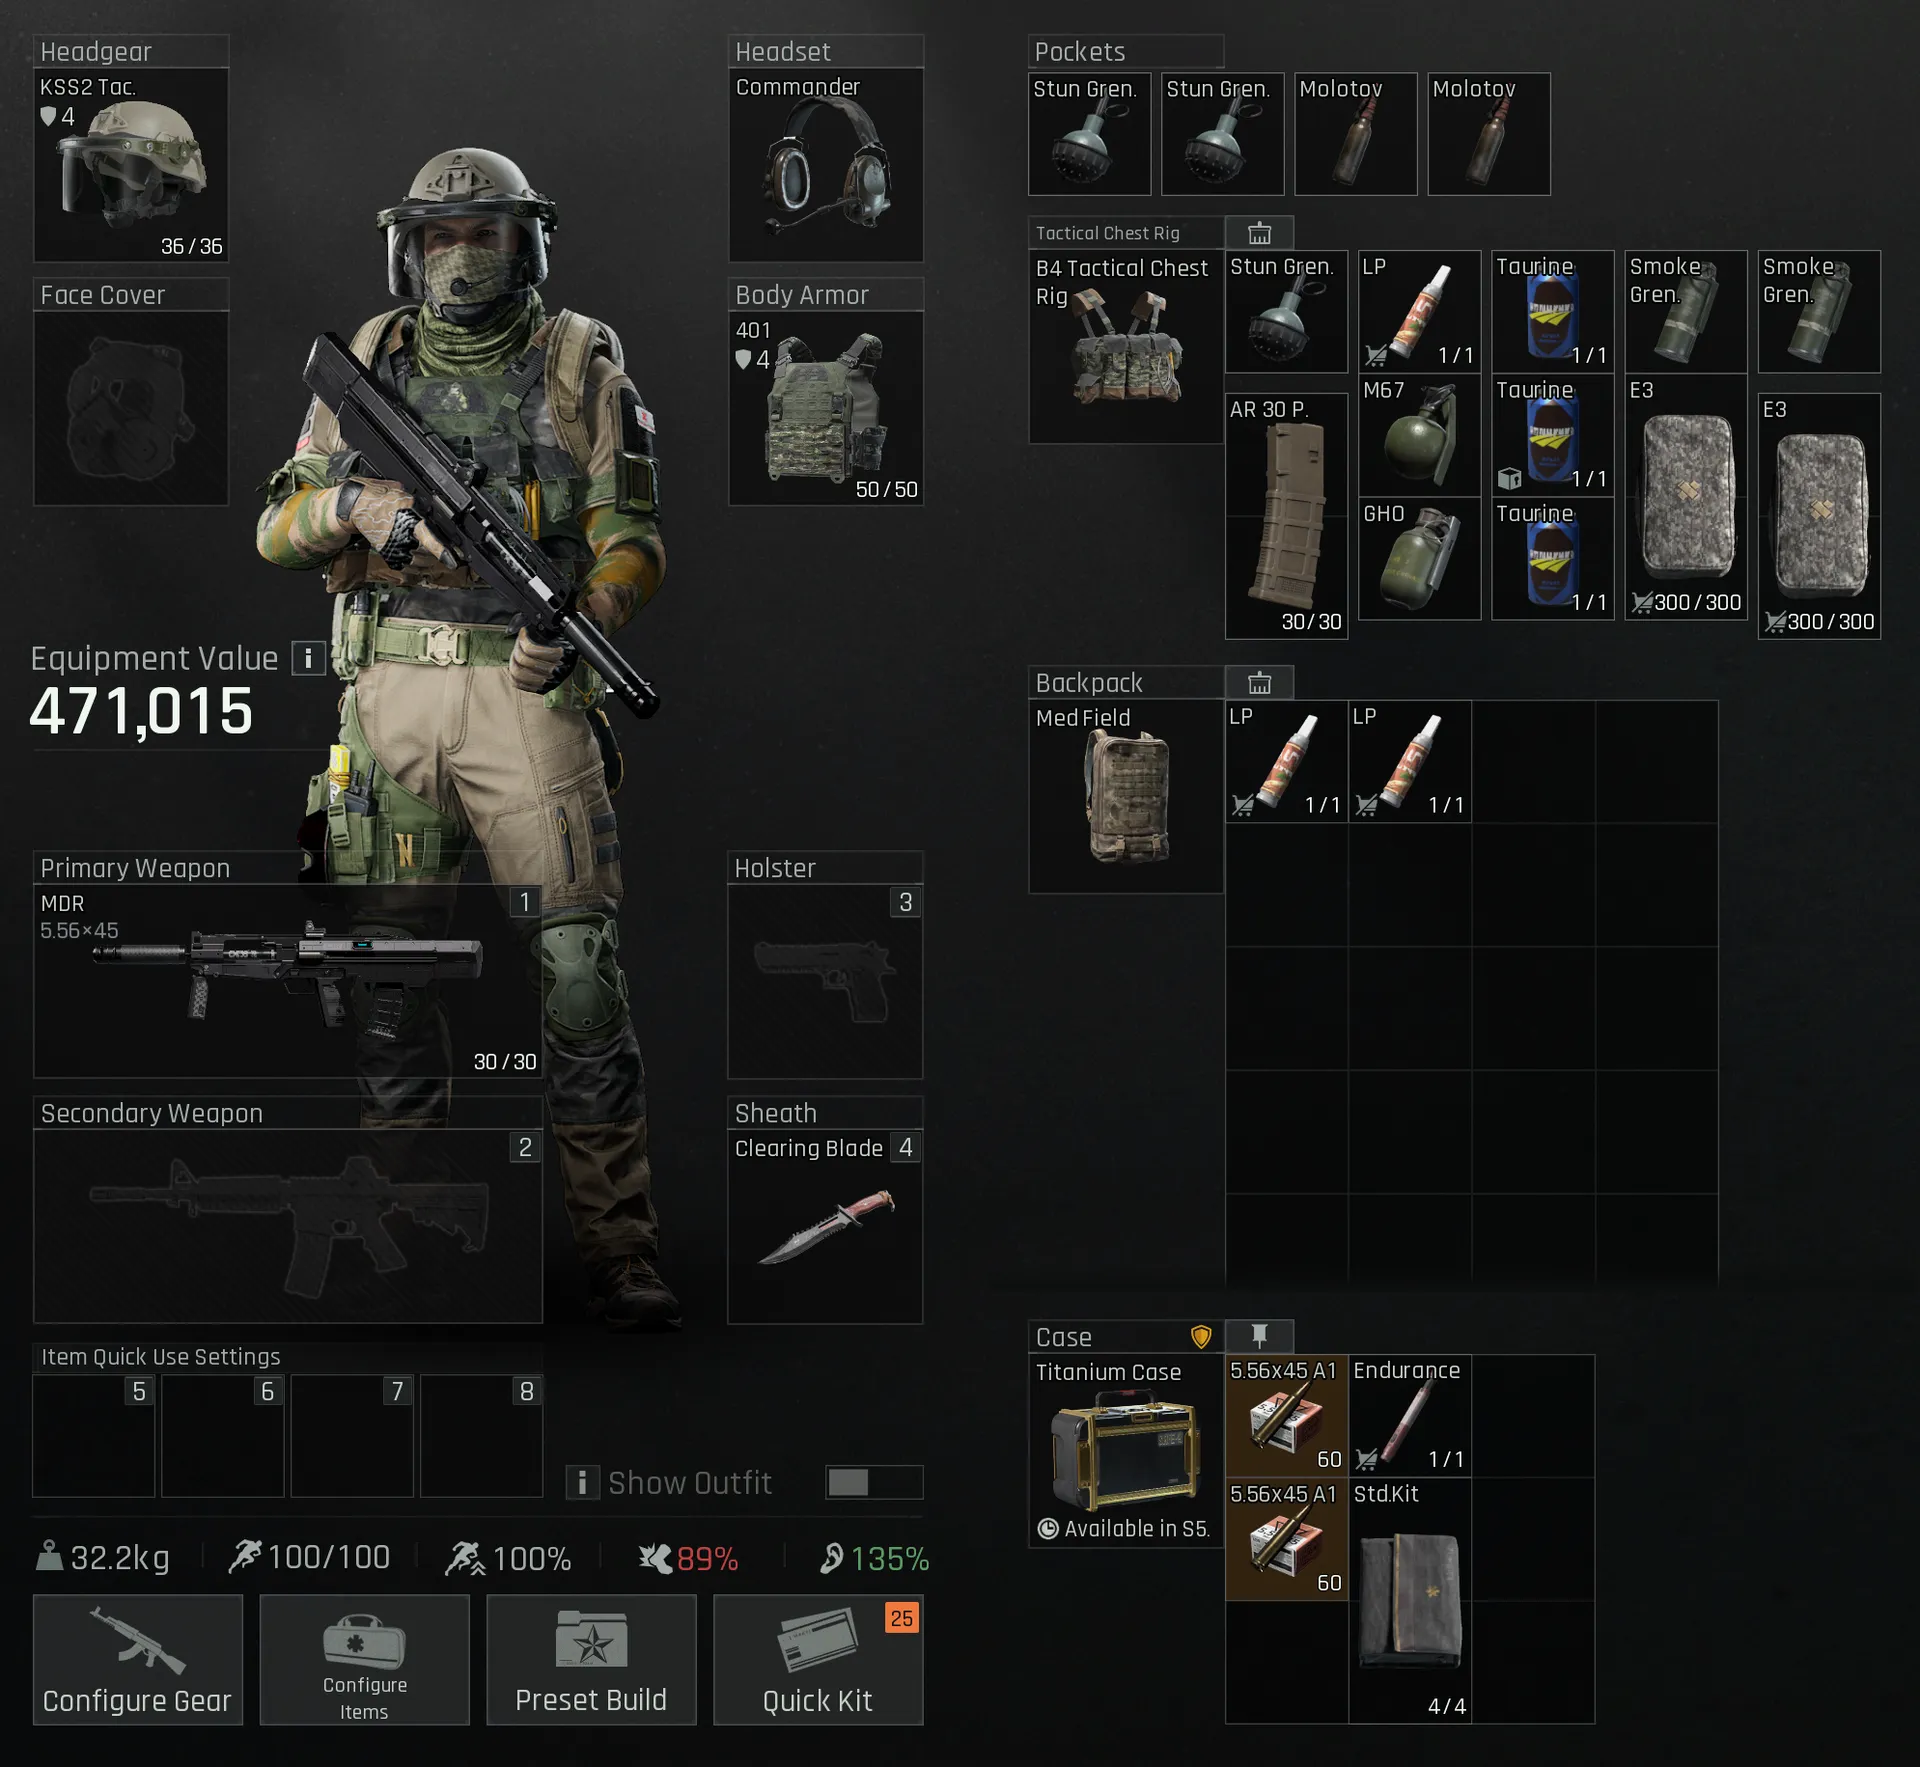
Utility loadout examples. Stuns give information, lethals punish positions, smokes block vision, and deterrents slow or force movement.
You may extract with utility unused. That does not mean it was wasted. It means you had options available if the raid became worse.
Utility Types
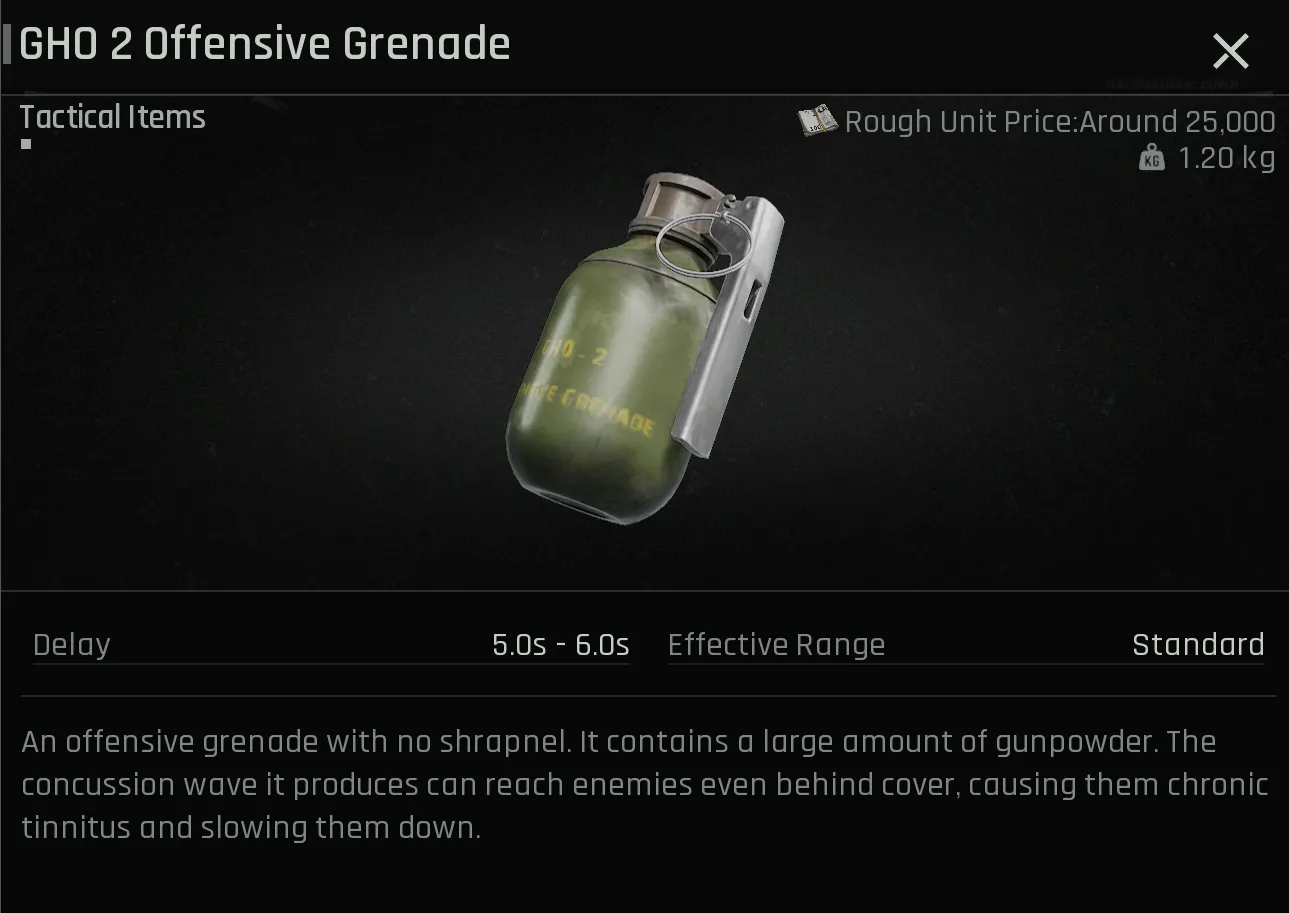
GHO Offensive Grenade
Damages through walls and objects. Best against players hiding behind awkward cover or furniture.
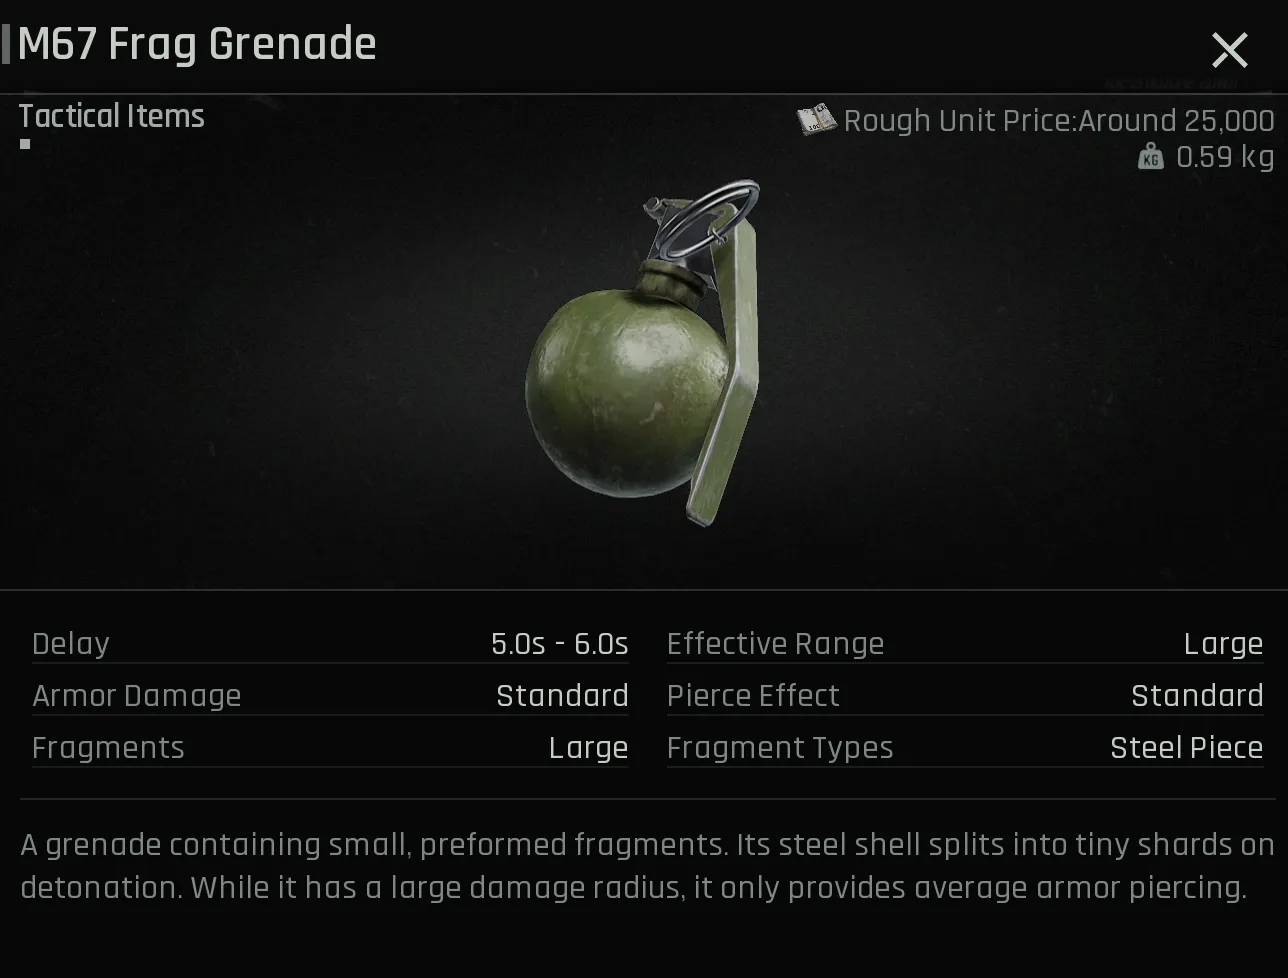
M67 Frag Grenade
Standard fragmentation grenade. Use it to damage players behind cover or force movement before swinging.
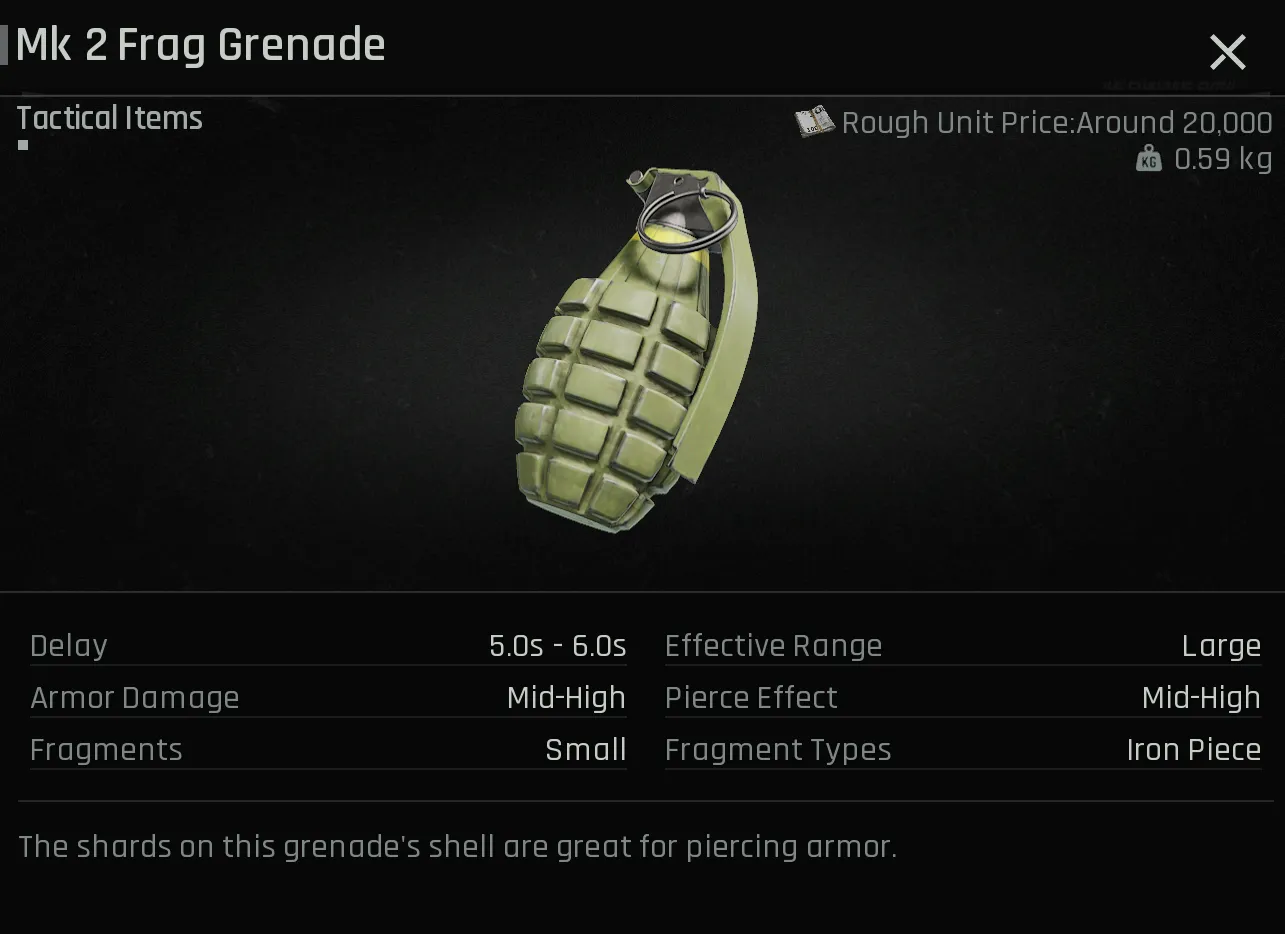
MK2 Frag Grenade
Strong against armor durability. Extremely useful when facing higher-tier armor builds.
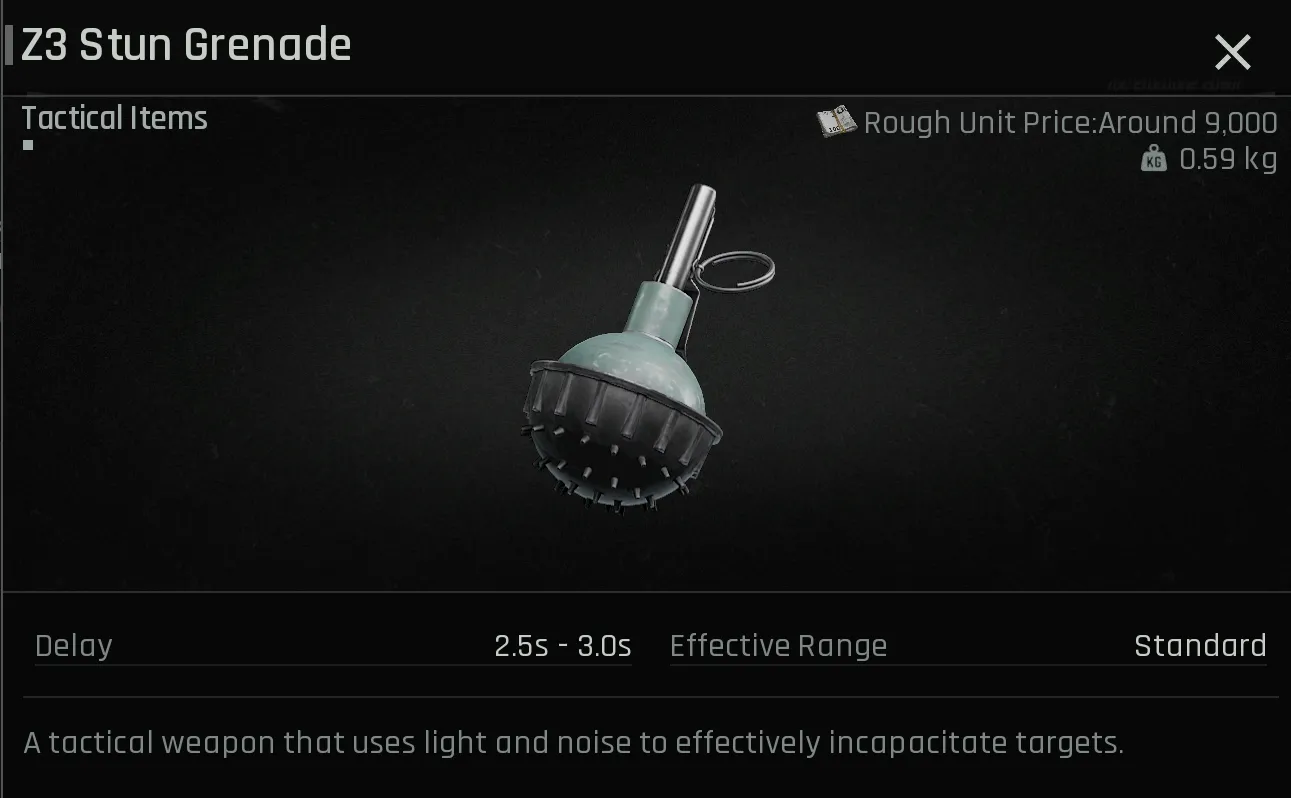
Stun Grenade
Mainly an information tool. Detonates to provide clear audio hit confirmations.
Smoke Grenade
Blocks line of sight. Use to cross dangerous openings, reposition, or loot safely.
Tear Gas Grenade
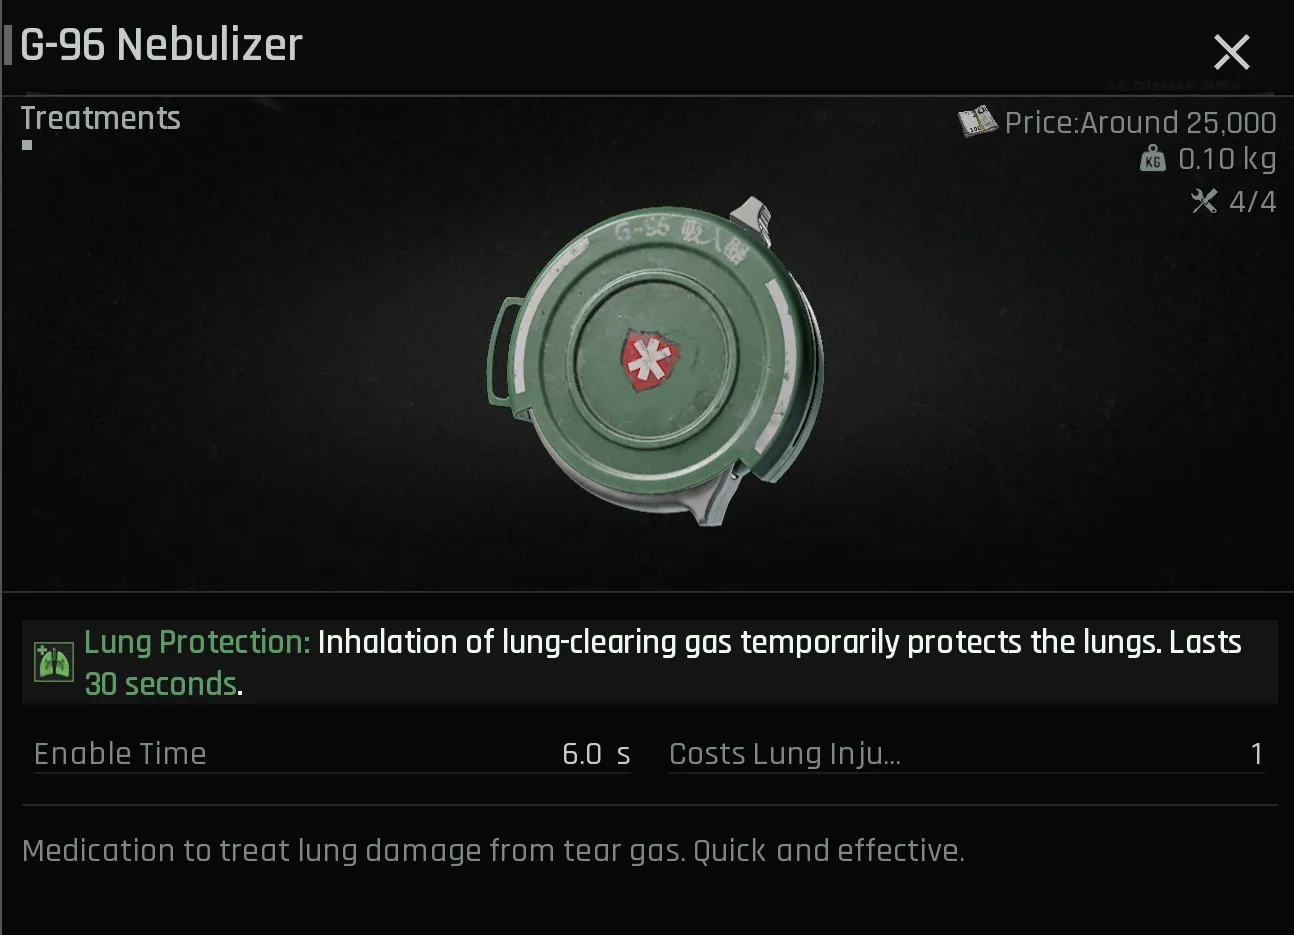
Slows pushes and causes coughing. Effect can be cleared or avoided with a Nebuliser.

Molotov Cocktail
Forces immediate movement by activating on impact. Can be thrown at ceilings to spread fire below.
Flash & Multi Flash
Niche tools. Standard Flash blinds, while Multi Flash detonates multiple times to delay peeks.
Nebuliser
Medical countermeasure to clear or protect against tear gas effects.
Weapon Roles Over Weapon Stats
Weapon stats are useful, but judging a gun by one stat can be misleading. Firing power, range, fire rate, recoil, handling, ammunition type, and attachment options all matter.
For solo play, think in roles:
- Close-range: Weapons like MCX, MPX, and P90 are good for buildings, ambushes, and quick swings. Weakness is distance.
- General-purpose: Rifles like M4, H416, and AK-12 are the most flexible. They handle close to medium-range fights and work well across most routes.
- Precision: DMRs and bolt-action rifles are strongest when you can control distance. Good for long angles and stalking. Weakness is close-range pressure.
The best weapon is the one that supports the raid you are trying to play.
Check Barrel Options
Before deciding that a weapon lacks range or power, check its barrel options. Some weapons can equip longer barrels that improve effective range and sometimes increase firing power.
Do not always choose the longest barrel. If the weapon becomes too slow, too expensive, or awkward indoors, you may be creating a new problem.
Ammo Matters More Than the Gun
Ammo choice is often more important than the weapon itself. A strong gun with weak ammunition can fail against armor. A simple gun with the right ammunition can still be dangerous.
For Lockdown mode, a practical baseline is:
- Tier 4 for automatic weapons
- Tier 5 for semi-automatic or bolt-action weapons
If you expect more high-tier armor, move one tier up:
- Tier 5 for automatic weapons
- Tier 6 for semi-automatic or bolt-action weapons
This is more relevant on maps like TV Station and Armory, where players are more likely to bring stronger armor. The goal is to bring ammunition that can realistically deal with the enemies you expect to fight.
Top Loading Expensive Rounds
Top loading means placing stronger rounds at the top of the magazine, with cheaper rounds underneath. The first shots often decide the fight, so this lets you threaten better armor without filling every magazine with expensive ammunition.
Top loading works best when you manage your magazines carefully. To load it correctly, insert the cheaper ammunition first and then the expensive ammunition last.
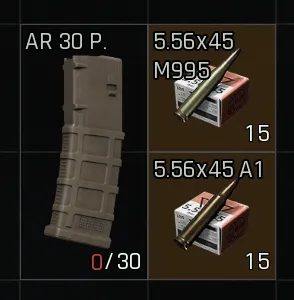
Top loading example. Stronger rounds at the top of the magazine can help against high-tier armor while lowering ammunition cost.
Stims
There are two types of stims: injections and boosters. Injections give smaller buffs for a shorter time, while boosters give stronger effects and last longer. In real raids, the most useful choices are Strength Boosters and Endurance Boosters.
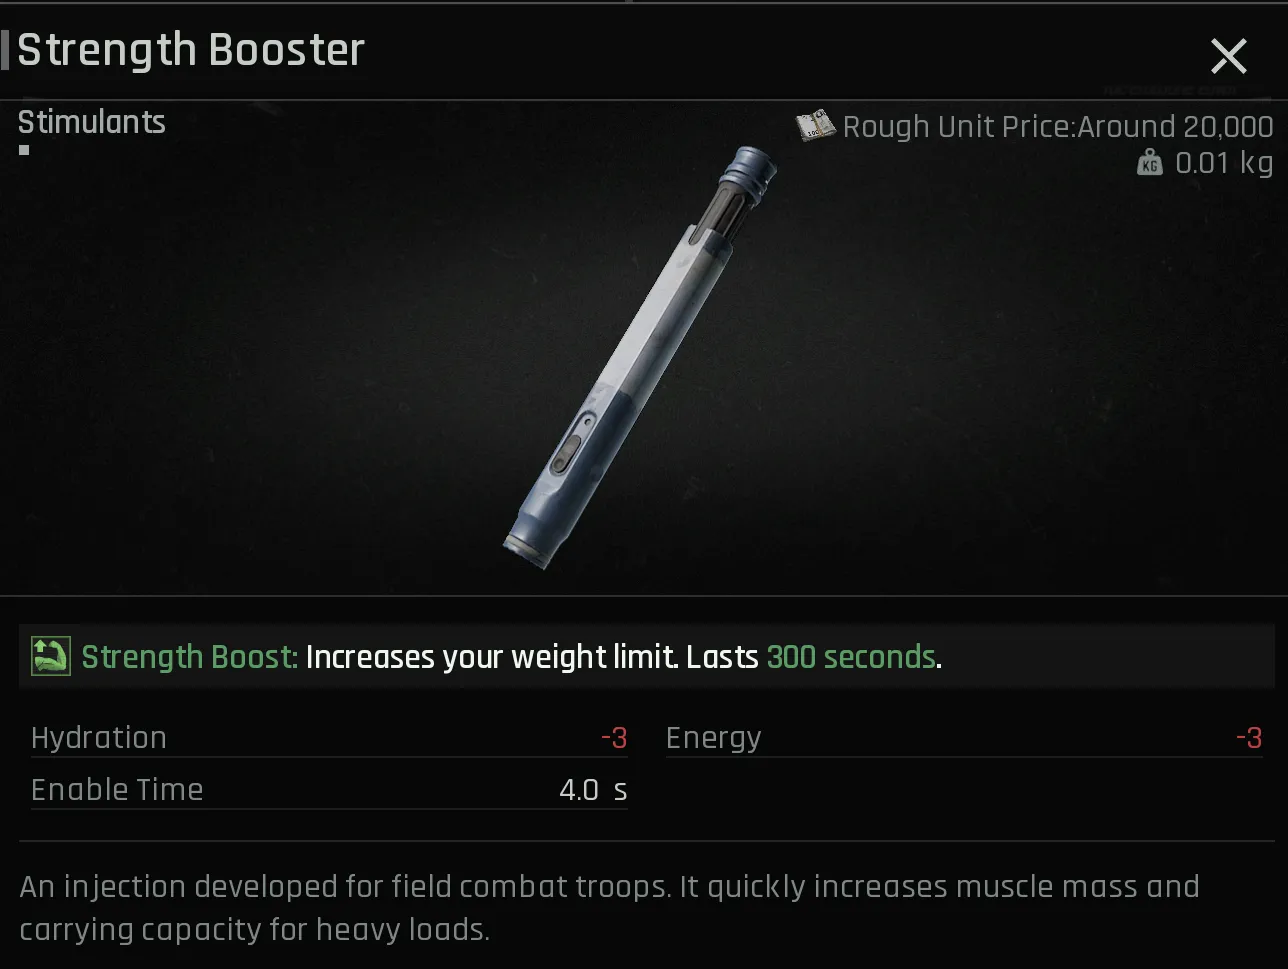
Strength Booster
+15 kg weight capacity for 300 seconds. Essential when heavy with loot or repositioning.
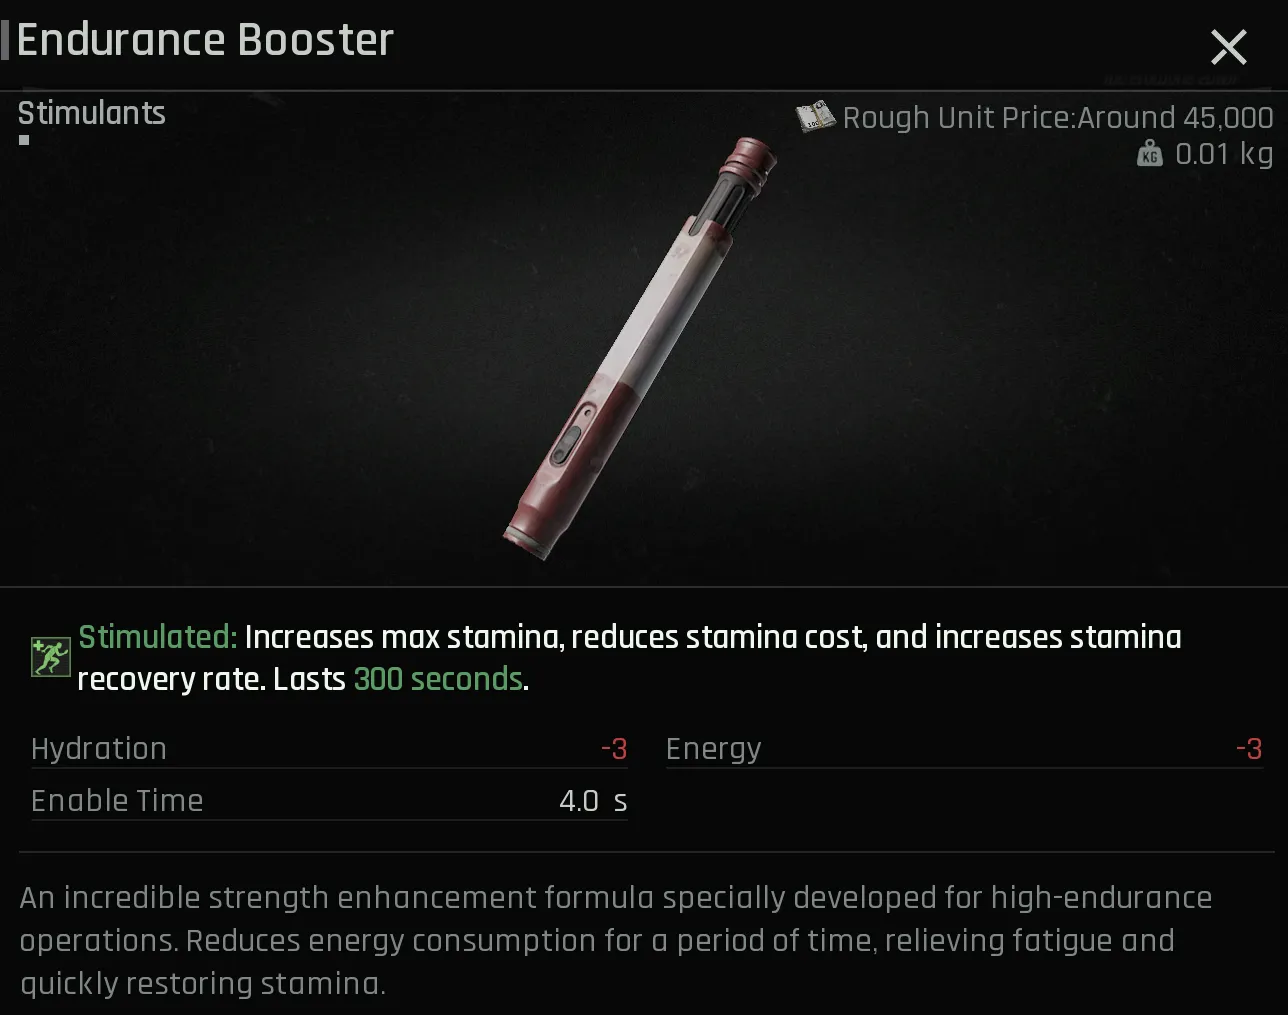
Endurance Booster
Strong stamina buff making current stamina last longer for 300 seconds. Great for rotations.
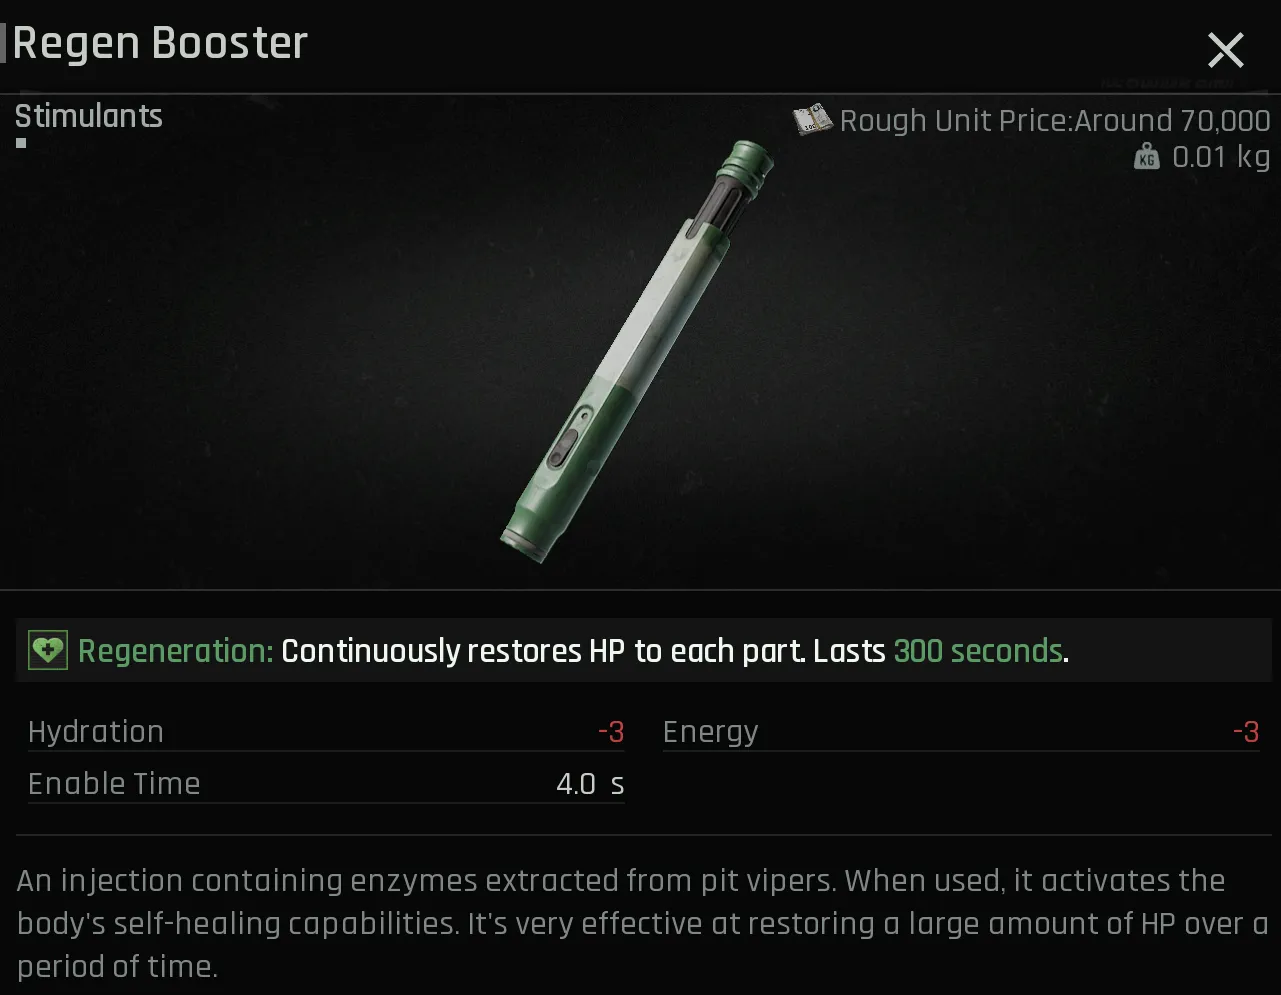
Regen Booster
Regenerates ~5 HP every 3 seconds for 300 seconds. Helps recover chip damage.
Energy Drinks
Energy drinks are simple stamina recovery tools. They do not replace boosters, but they are useful when you need stamina back quickly without spending a stronger consumable.
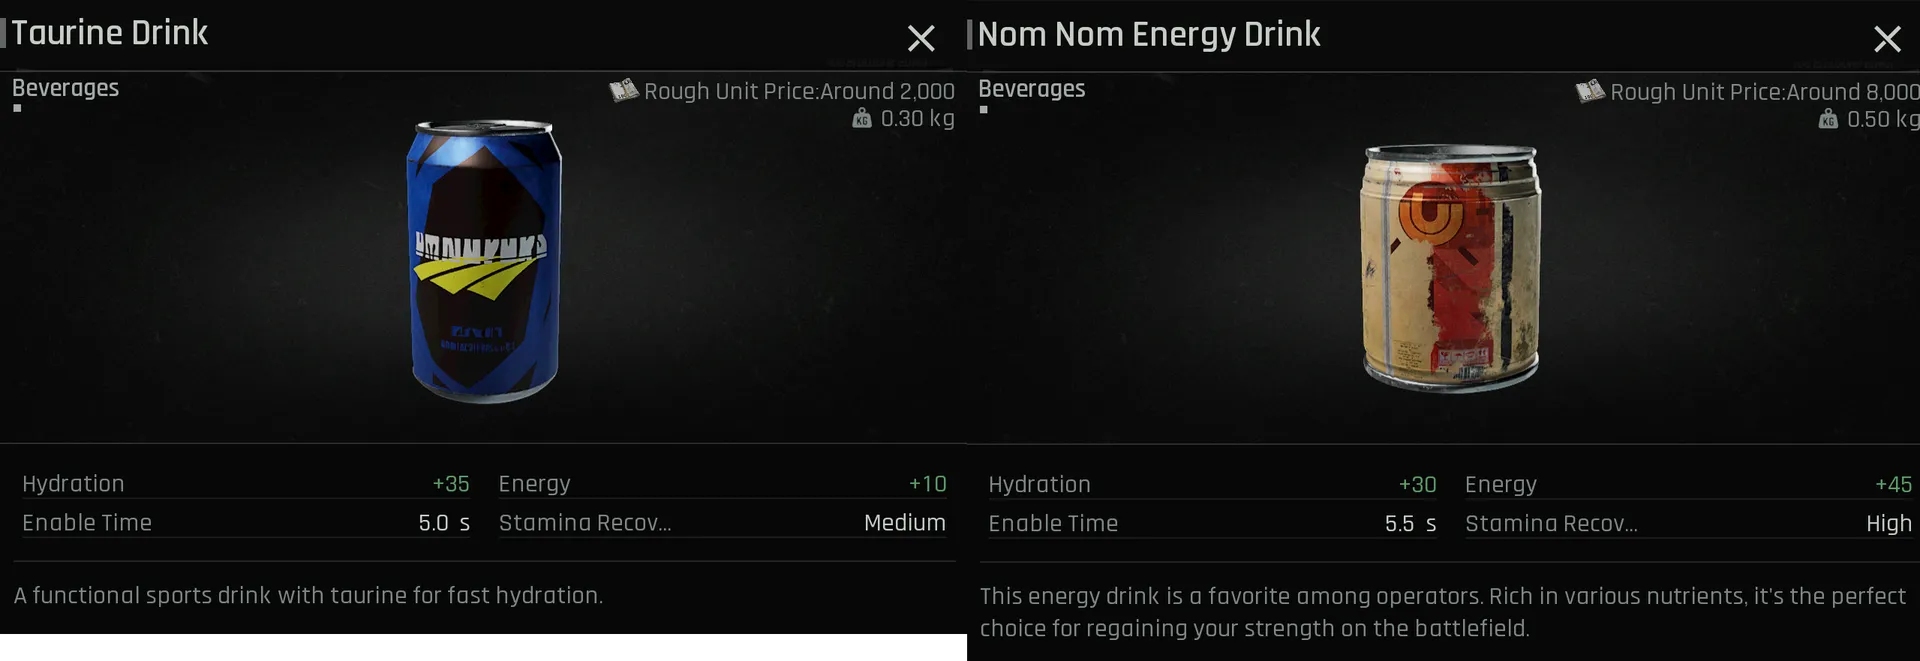
Energy drink options. Taurine Drink restores roughly half of your stamina, while Nom Nom restores around two-thirds. Both take about 5 seconds to consume.
Energy drinks are useful before long rotations, heavy extractions, or after repositioning when you need stamina back before moving again.
Armor: Lightweight vs Heavy
Armor can be simplified into two categories: lightweight and heavy.
- Lightweight armor: Better for mobility. Helps with repositioning, stamina management, and disengagement (composite/aluminum).
- Heavy armor: Better when you expect direct fights. Tank more damage, but hurts stamina and slows rotation (titanium/steel/ceramic).
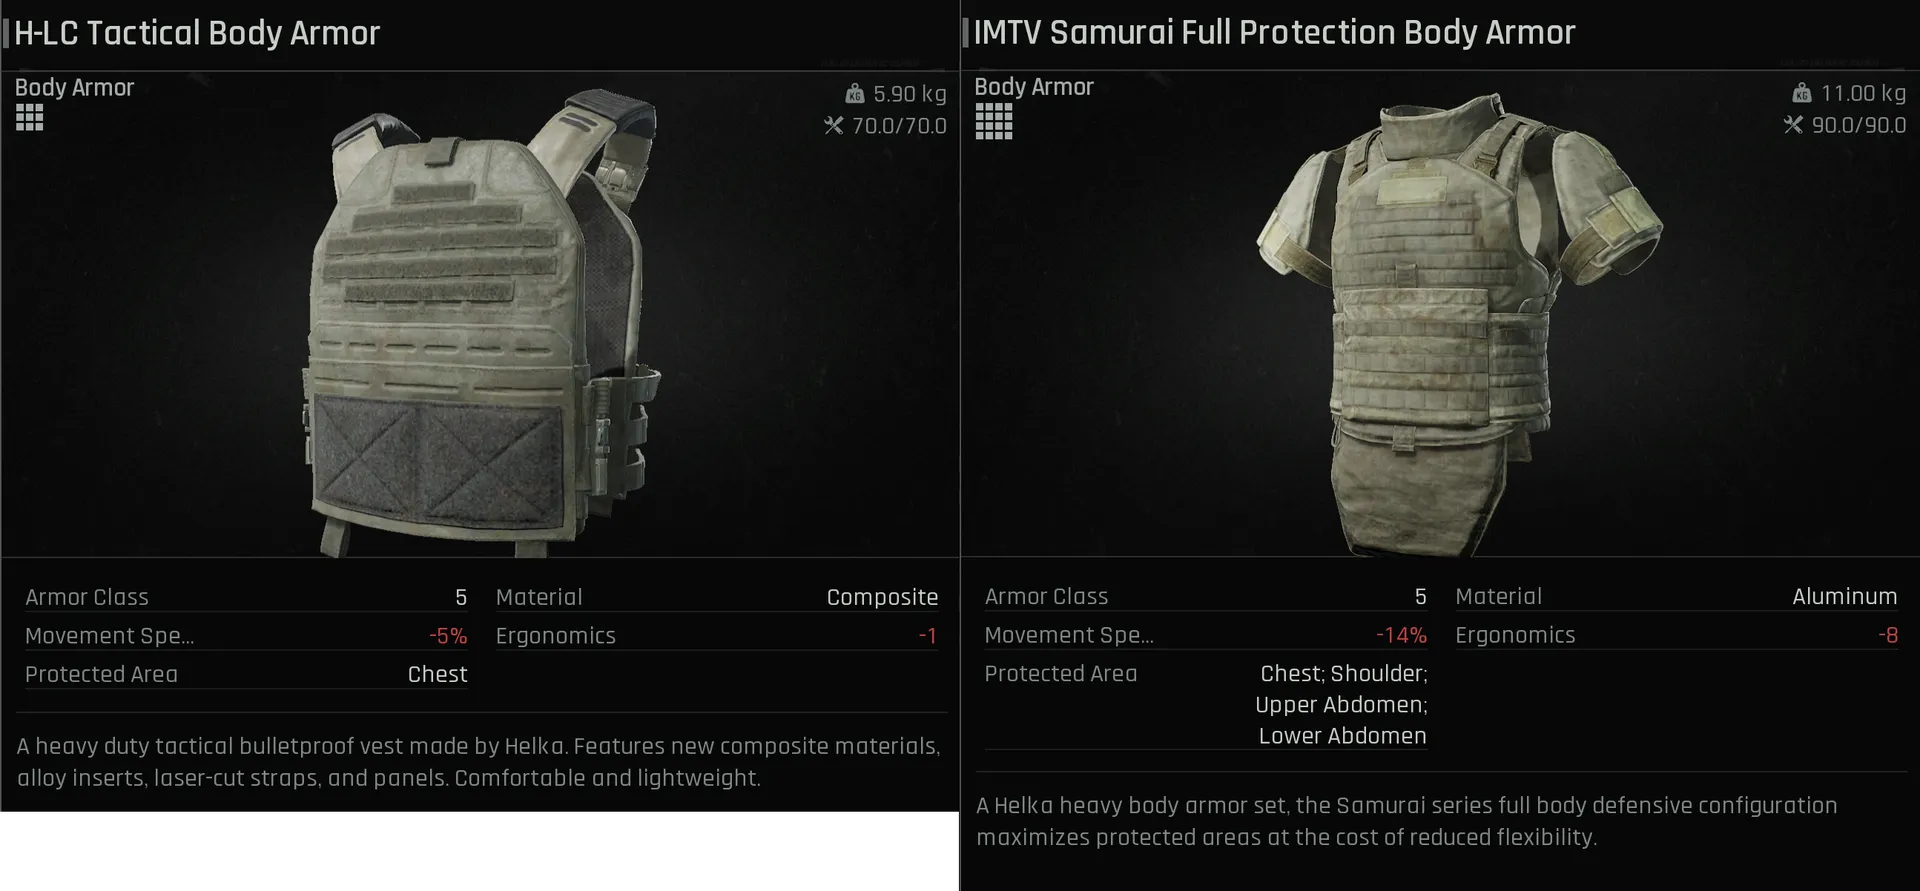
Lightweight and heavy armor comparison. Lightweight armor supports movement, while heavy armor gives more protection at the cost of stamina and flexibility.
Rigs and Backpacks
Rigs and backpacks are mostly personal preference. Rigs with 2x2 slots are useful because they can fit larger items such as helmets and bulky miscellaneous loot. Backpacks present a tradeoff between carrying capacity and profile/weight penalties.
 Slim Backpack: Low profile, reduces visibility, limits greed and weight penalties.
 Bulky Backpack: Maximum storage capacity, but increases profile size and makes you heavy faster.
For solo play, the best backpack is not always the biggest one. It is the one that gives you enough space without making you slow, bulky, or greedy.
The Core Rule of Loadouts
A good loadout gives you answers. Your weapon answers the range you expect to fight at. Your ammo answers the armor you expect to face. Your armor answers how much punishment you can survive. Your utility answers problems that bullets cannot solve safely. Your meds and stims answer the mistakes and movement problems that happen during the raid.
Bring what supports the raid. Leave what only makes you feel prepared.
Keep Reading the Guide
Patience, information, and control are the real weapons of a solo player in Arena Breakout: Infinite (ABI). Learn the key mental strategies to survive.
Next ChapterChapter 3: The First Five MinutesLearn spawn logic, early routes, and how to survive the initial opening phase in Arena Breakout: Infinite (ABI).